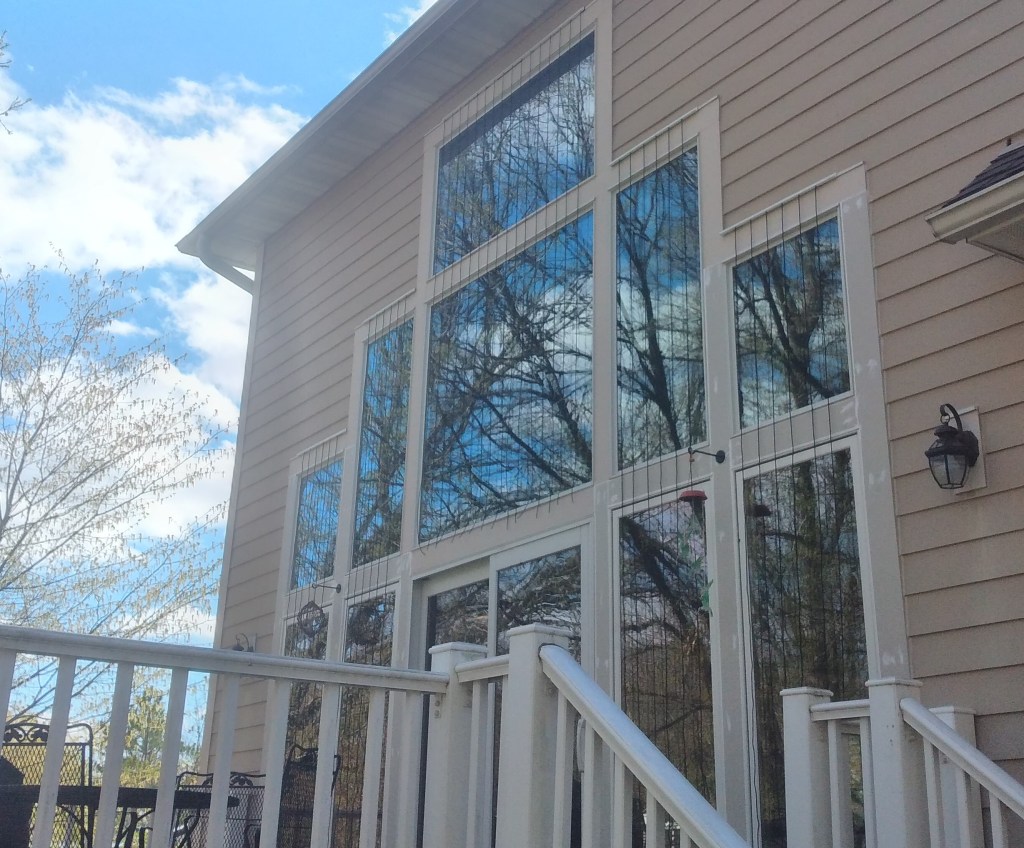
We are fortunate: we have the means to own a home. We bought it some fifteen years ago as it checked all the boxes for what our family needed at the time. It also had a feature that we were ambivalent about, something both enchanting and terrible: an east-facing living room wall, two stories high, comprised of eleven large windows. It passes so much light that entering the room is like stepping outdoors. But we knew it would be deadly for birds. We have been trying to change that over the years, with mixed results; but now, I think we have it fixed.
I’ll start with what had not worked. We started simple, trying a variety of vinyl window clings that could be attached to the inside surface of the glass with no need for adhesive. Some of these were marketed specifically to reduce window kills. They didn’t work. On a bright day, they were hardly visible from the outside, so it isn’t surprising that we had some warblers and thrushes hit during migration periods.
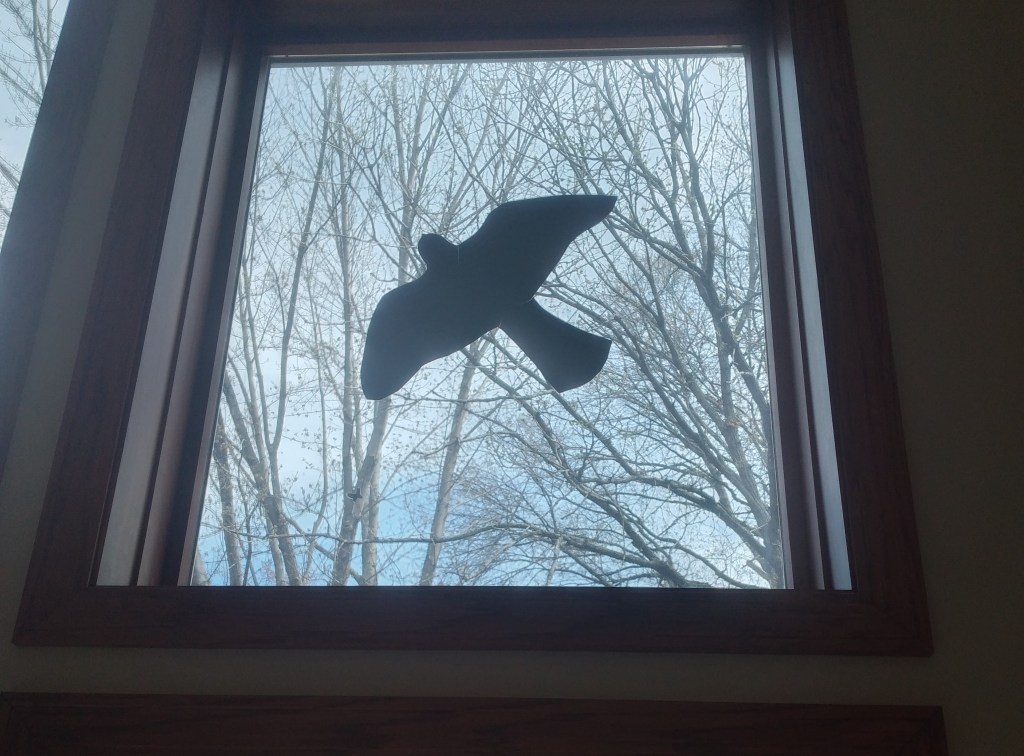
Having seen the hawk and falcon sillouettes used at a nearby nature center, I figured that the abstract clings were not frightening enough to deter songbirds, so I bought a roll of black vinyl cling material and traced out raptor shapes, then placed them on the interior. More dead birds. Again, from the outside, even dark vinyl clings were not that apparent. I didn’t want to have to affix anything to the glass, but I saw little choice anymore. I bought vinyl with an adhesive backing, cut out the same designs, and stuck them to the outside surfaces. (There is no way that static clings would stay on for very long outside, certainly not in Minnesota.)
These were very visible from outside, but every year… we kept getting a couple of kills. So we put up more. Then we added little stickers. My wife even tried painting some bird images on the glass. Not only was none of it working, but the windows had gotton so busy that they became rather hideous.

So I started planning a new approach, based on some designs we had seen when birding abroad. Specifically, I wanted to suspend parallel strings on the exterior. It looked simple, cheap, elegant, and effective. For our house, I also wanted a solution that would be easy to maintain and repair without having to get up on a ladder often. I don’t like heights, especially when I achieve them on a rickety structure; I hate ladders. Moreover, as I looked at the way our windows were laid out, with the glass going as high as 17 feet above our back deck, and being so wide as to provide few locations to place a ladder safely, I started to think installation of a system of cords was not even doable without hiring a professional.
Though I had no plan yet on how to do the installation, I thought about how the cord system might work. Above and outside of each window top corner, I’d install an eyelet and pass some light, thin jack chain through them in a big loop that would hang down to arm level or so on the deck. This would pass through another, lower eyelet. A second length of chain would be attached between them, and the strings would be tied off at regular spacing on this chain. It would be just like raising and lowering a flag on a flagpole, but in parallel. I liked chain for the horizontal section because it would be easy to tie the cords to it, as well as attach it on the ends to the vertical chains using something like a snap-swivel. I thought it would be good for the vertical sections because I could secure it at the bottom with a small hook or the like.

I measured and tweaked the design and drew up a bill of materials. I figured I could do it all for around $60. I still didn’t know how I would install it, until the idea of scaffolding occured to me. Could I rent it? Or would I have to buy it? I found no good rental options, but there was a 12 foot version I could order through a local hardware store, and it could be set up and broken down by one person. It was hundreds of dollars, but I figured I could sell it later and recoup much of the cost. Or maybe it would be worth keeping around for other tasks. So I bought it last autumn and it sat in shipping boxes in the garage all winter.
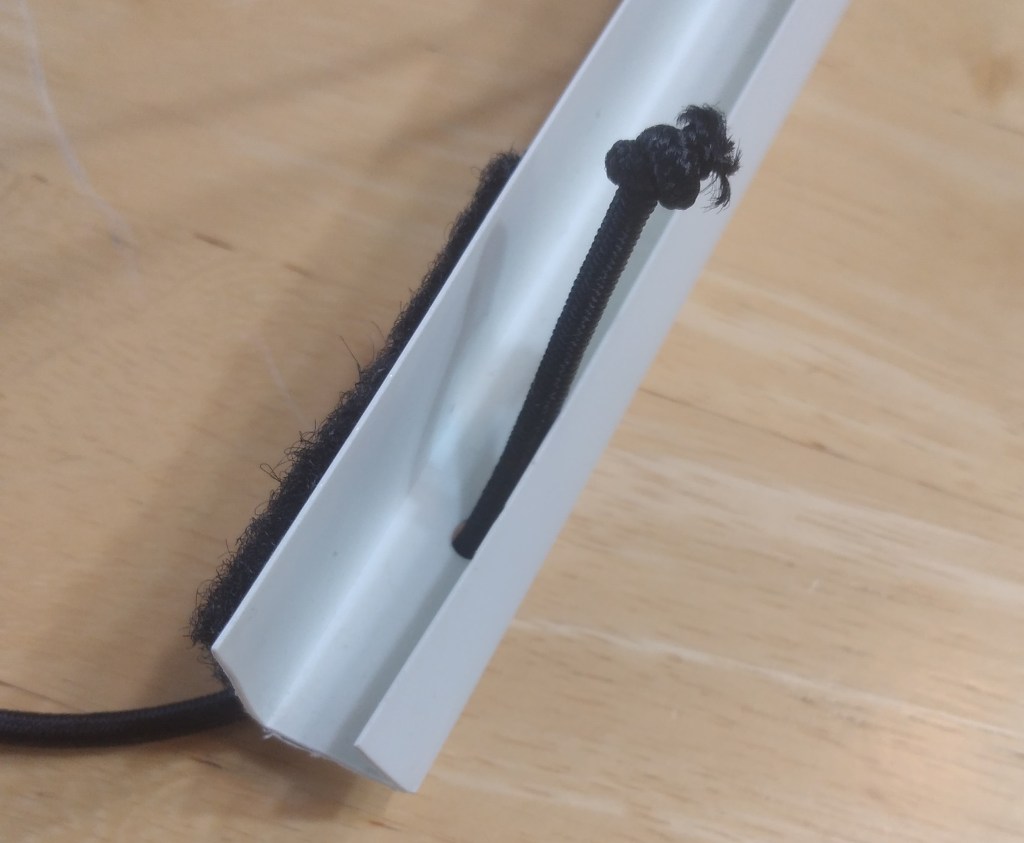
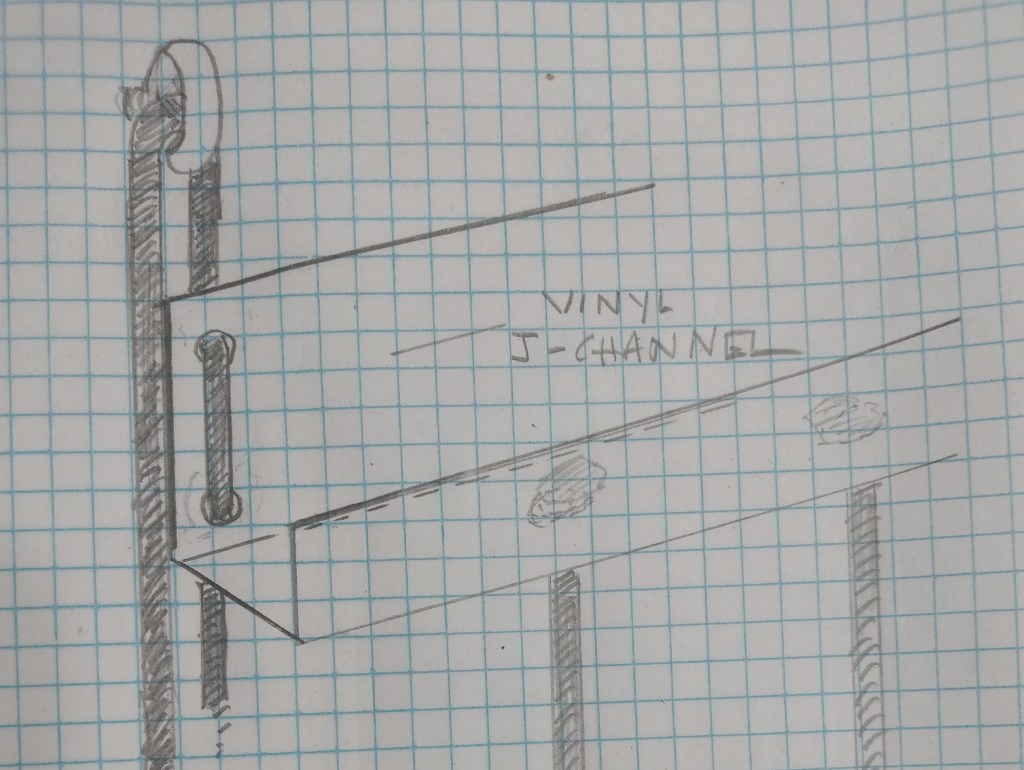
Although April in Minnesota can be cold and snowy, I decided to get going on the project several weeks ago, ordering all the materials. I wanted to get it done before migration really gets going in May. And just as I was about to start work, I looked online for any other approaches or ideas that I could incorporate. That is when I found the Acopian Birdsaver. Their design is similar to mine, and they provide lots of great ideas for DIY projects. As I read, I liked their approach more and more. Specifically, they suggested the brilliant idea of using cheap, light, but sturdy vinyl J-channel for the horizontal suspension of the cords (see below), affixed it to the exterior without the need to drill any holes, by utilizing all-weather velcro tape.
I also got to thinking that since I had the scaffold, I really did not need to have the ability to raise and lower the system at will. If I had to go up once every few years, I had the means to do so without dealing with ladders. So I decided to use their approach.

For cord I initially bought this Marine-grade shock cord. This is very elastic, like bungy cord, but a bit expensive: $20 for 100 feet. Nice stuff – I selected black, 1/8″ diameter, but they have many other options. It was also described as “paracord.”
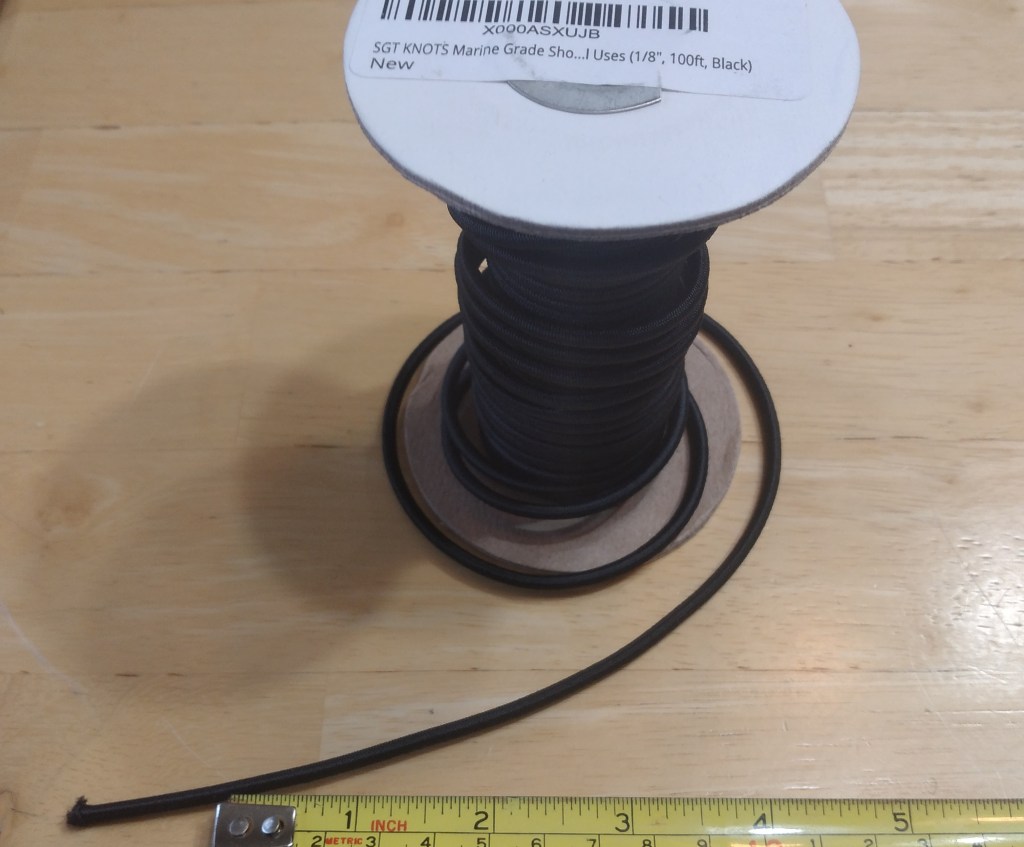
Midway through the project I realized I did not have enough, and rather than wait a few days for Amazon to send more, I checked with Home Depot and found they had black 1/8″ “paracord” in stock at a price of $5 for 50 feet, so I bought that. It is totally different from the shock cord, though. It is non-elastic and slightly thicker. Be aware you cannot expect to mix and match these, though they are both advertised as the same thing with the same specs. In my case it worked out because I used one type for the central section and the other type for the outlying ones. You cannot see any difference unless you look very closely.

The velcro tape is cheap and seems to work really well – so far at least. The adhesive backing is very strong. They claim it will support a pound per square inch. I put at least five square inches on the back of each J-channel. I drilled holes in the bottom at 4″ intervals; the Acopian Birdsaver site suggested 4.25″.
So now with all the materials ready, it was time to pull the scaffold out of the boxes and assemble it. To my horror, it had one section where the metal had been bent, and which I had to work back into shape with a crowbar and a mallet. It left it just a bit kittiwampus, but otherwise stable. There was a slight sway – at the 6 foot level it was not an issue, but at 12 feet, it moved enough to make it unnerving to be up there. There was nothing unsafe in the structure, my rational, physics-trained mind knew. But the first time I went to the top, I could only sit there. I had to come down and give myself a pep talk before I got the nerve to go back up and actually stand up on it, as I would need to do in order to get this job done. Irrational? Yes, but that is how phobias work.

The first thing I did was scrape off all the old stickers, paint, and gunk from the glass and give them a good cleaning. And then, measure, measure again, and start affixing the velcro. It all went up super easily.
I still like my idea of being able to raise and lower the structures, though. The J-channel would be amenable to this as well. Chain or even cord could run through the eyelets:
It looks nice from the inside with all those stickers gone. And I cannot imagine how any bird would be tempted to fly into our glass now. The only outstanding issue is that the wind can play havoc with the bottom ends. Monofilament fishing line will take care of that problem.
